Friday, December 30, 2011

Hot Cocoa Shop

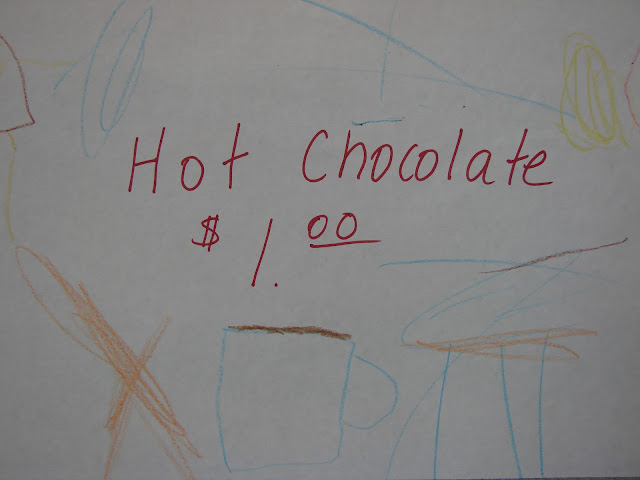
C is for Cocoa! During snack time at preschool, I set up a hot cocoa shop. Each kiddo was given $1.00 in play money. We had a cashier, register, and real hot cocoa. (well hot chocolate packets). We talked about how you buy things you want and need. Then, if the kids wanted to... they could purchase hot cocoa. Each kids was given a foam cup, packet of hot chocolate and a spoon. I came around with the hot water and added it to their cup after they emptied their packet into the cup. We even had extra mini marshmallows that I bought at a local bulk food store. The kids had a blast! :) So much fun! I came home and set it up for the daycare kids as well. :) Learning should be fun! :) :) :) And this was!
Here are a few pictures from the shop at daycare, I forgot to take my camera to school!

 We used real mugs at home.


Nice art work, Cort!
 Cashier, Autumn


 Fine Motor Marshmallows!


 Don't be afraid of a mess. It took 3 seconds to clean up. So worth it!

Tuesday, December 27, 2011

Christmas Eve Eve Beef Stew and Johnny Cakes

It was Christmas Eve Eve!!!! And all through the house... it smelled like BEEF STEW!!!! Ok, I know it didn't rhyme... :P

My husband's gram makes soup and Johnny Cakes. I had NEVER heard of Johnny Cakes before. Some people call it fry bread. Some call it johnny cakes. Some call it something completely different. I don't even know...  I call it GOOD! You can make them from homemade bread dough, or from frozen. Simple!

As for the beef stew, I had never made it before. And  no recipe I looked at sounded appealing. It just was not what I had in my head. So I took what was in my head and put it in my dutch oven. And it was perfect. For me at least. It was exactly what I wanted. Hope it is for you too!


Beef Stew:


Grab:
2 pounds of stew meat or roast, cubed
1/4 flour
Garlic salt 
1/3 cup onion, chopped
1 bay leaf
1 can cream of mushroom soup
1 box of beef stock (4 cups)
1 package onion soup mix
2-3 cups of water
3 carrots, peeled and chopped
3 ribs of celery, chopped
2 cups red or thin skinned potatoes, cubed

Go:
Dredge meat in flour. Sprinkle with garlic salt. Heat dutch oven or stock pot with 2TBSP of oil over medium high heat. Add meat, lightly brown on sides. You are not cooking meat the whole way through, just getting browning the outside. Only takes a few minutes. Add onions halfway through browning. When meat is browned, stir in cream of mushroom soup and beef stock. Mix 2 TBSP of water with the onion soup mix and add it in as well. Add about a cup or so of water and bay leaf. Bring to a boil, stirring occasionally, then turn it down to a simmer. Simmer with lid half on the pot so some steam is able to escape for 1 to 1.5 hours, stirring occasionally.  Add carrots, celery, potatoes and the rest of the water. Simmer on low heat about 30 minutes or until the potatoes and carrots are soft, stirring as needed. 


Johnny Cakes
Grab:
Frozen bread dough or frozen rolls. (I used 24)


Go:
Follow the thawing directions on the roll package. Let them rise. ( I get these ready right after my meat is browned for my stew. By the time the stew is done, my rolls are ready to fry)
Heat about 1/4 inch of oil in a skillet. You know it is ready when you touch the dough to the oil and it sizzles. Stretch each dough ball like you would a pizza crust. Fry it for a few seconds on each side until it is done.  This does not take long. Dip in the soup and enjoy! 


Friday, December 23, 2011

All the Pretty Lights!

Christmas Lights
Two quick Christmas light crafts
 Find or draw a Christmas light bulb. I got mine from the Pre K Mailbox magazine. You could google a pattern and draw it in black maker on white cardstock. Cut it out.  Mix up some corn syrup paint.  A squirt of clear (light) corn syrup and  a few drops of food coloring. Simple and sticky! Paint the bulb with the shiny paint. It will take a few days to dry. It will be shiny just like a glass light bulb. Make a few and string them together and hang them from the wall or window. We put a sign with ours that said, “ Jesus is the Light of the World."  I love the way it brightens up my classroom door! :) 
Clean up is much easier than you may suspect. It wipes right off. 


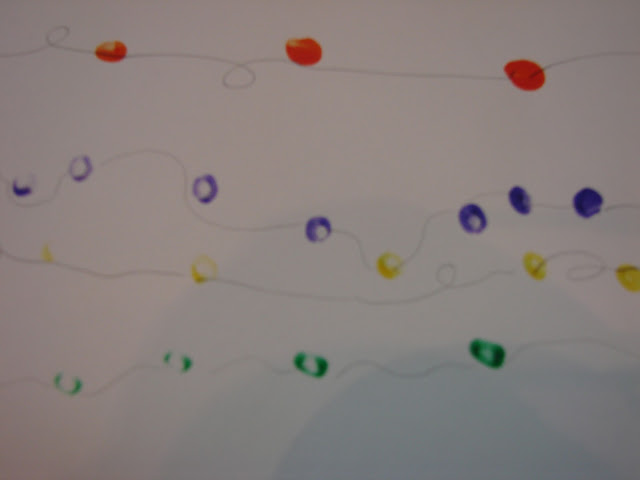
Another simple fun Christmas light craft, is to have your little one dip fingers into paint and make finger print lights all over a piece of card stock. After it is dry connect the lights with a fine tip sharpie. You can write:
" YOU LIGHT UP MY WORLD!"
On the inside and have the kiddos sign their names!


Christmas Card idea adapted from Teach Preschool
Fun and Done! 

Thursday, December 22, 2011

Glittery and Swirly Ornaments

Who would have thought some floor wax and glitter could be so much fun! That’s right... wash and wax your floor. Good, now dump glitter all over it before it dries! Hurry! Go! Okay, no don’t. Don’t be tempted. It will NEVER come off. Okay, it will. Eventually. But who wants to wait for eventually?


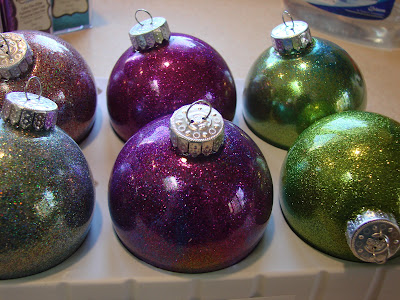
Here is what you are really gonna do. Go to your craft store and buy some clear glass craft ornaments. You should go NOW! They sell out fast. Oh what’s that? You bought yours in September? Huh, go figure... I DID TOO!!! :) :) :) Good thing I did, because Hobby Lobby was sold out. But Michaels had some... so it was all good. 
Okay, dump some floor wax into the bulb and swish it around. Don’t swish too hard because it will get bubbly inside... and you want to try to avoid that. After all of the bulb has been waxed, so to speak, take the cap off the wax and dump the excess wax back into the bottle. I like to balance the bulb onto of
the wax for a while just to make sure it is all out. 


Now quickly dump a good bit of superfine glitter into the ball and shake like crazy. You want to try to do this quickly so that you don’t get a dark clump of glitter on the bottom of you bulb. Pop the cap back on and you have a mess free glittery ornament that is beautiful. :) So much fun! 


Originally seen here
Okay, now that you have some of those clear glass bulbs... you can also make these awesome swirly ornaments. We make these as gifts for our parents in preschool. I squirt in the paint and the kids shake them like mad crazy. 

Start by cleaning the inside of your ornament with some rubbing alcohol. When it is completely dry (use a hair dyer to speed up the process)  then squirt 3 small squirts of acrylic paint down the sides of the bulb. Cover the top with your fingers and shake, turn or swirl the ornament. Then tilt it upside down in the ornament tray or egg carton to the excess paint will run out the ornament. You can also turn it periodically through the emptying process so that you will get a pretty design. :) I use puffy writing paint to put student’s initials on the outside. :) Cap it ... and some ribbon and hang it on the tree. :) 


 This is what the paint looks like when it drains out of the bulb. Neat, huh?!?

 These are the cute lil gifts bags that we wrapped up the parent's presents in! 
The tags are from the back of the Little Debbie's boxes that have been saved for years.
They came in handy!