Showing posts with label crafts. Show all posts

Thursday, March 1, 2012

A St. Patrick's Day Post


With March officially here, I thought I would do a St. Patty's Day post.
 I am not Irish.
 I do not drink. 
I have never caught a leprechaun or found a Pot-'O-Gold at the end of a rainbow. Darn. 
But I love Green.
 I love the word "Shamrock".
I love rainbows and God's promises that they represent. 
I would love to find a Pot of gold. It wouldn't even have to be at the end of a rainbow. ;)
I love Lucky Charms. Does that count?
I would love to go to Ireland some day. 
So I am sorta Irish right? 
Like some kind of honorary Irish for loving Shamrocks and green and for sure the Lucky Charms! 

Here are some St. Patty's day things that you can do just for fun! 
 I made a little "love box" to send to two special families! It had a St. Patty's Day theme. I grabbed some notebooks, cupcake mix, icing, cupcake liners, green jello, shamrock stickers, and a mishmash of other fun things! 


I also added these little treat bags I made. I painted some rainbows on some watercolor paper, and cut them out when they were dry. I threw some shamrock sprinkles in the bottom of a clear cello bag and added some gold foil coins. Lastly I added the rainbows. Then I tied the bag shut. I love them. I thought they were so adorable! And I had fun making them!  

 Make an easy Shamrock Bark grab by some grabbing some Nestle's mint and chocolate chips, melt on 50 % power in the microwave, spread over crushed pretzels on parchment paper and sprinkle some shamrock sprinkles on top. Chill in fridge. Yummy! 

And my favorite... Irish strips! I found this recipe while rummaging through my Nanny's recipe box. 
I healthified it... so if you are following my 12 Week Challenge ( which you should!) these are a better choice. I will post the original recipe and the changes that I made.  
* And just a note...I made both versions of these, my brother who thinks a salad is a little lettuce with a 1/4 cup of cheese and a 1/2 cup of ranch dressing, liked the healthier version best! But both were yummy! *

Irish Strips
1 stick of butter ( I used margarine)
2 eggs
1 cup of sugar ( I used half sugar, half Splenda)
2.5 cups of flour ( I used whole wheat flour)
1 tsp baking powder
1 tsp baking soda
1/2 tsp salt
1 tsp real vanilla extract
1/2 cup cooled coffee
1 cup of chocolate chips ( I used dark chocolate)
Topping:
3/4 cup brown sugar ( I used Brown Sugar Splenda)
1 tsp cinnamon

Go:
Preheat oven to 375. 
Cream butter, sugar and eggs together. Slowly add dry ingredients. Add coffee and vanilla. Mix until smooth. Add chocolate chips. ( I'm not gonna lie, I used more than a cup.)
Cover a small baking sheet ( I used one a little larger than a 9x13 cake pan) with parchment. 
Press out dough onto pan. Mix the brown sugar and cinnamon together. Cover the top of the dough. Bake for 13-15 minutes. Cut into strips. Goes great with coffee and tea. 
One little added extra... did you know that we see shamrocks at St. Patrick's Day because St. Patrick  used it to represent and teach the Holy Trinity to the pagan Irish? And, St. Patrick's Day is used to celebrate the arrival of Christianity to Ireland! 
Now every time I see a Shamrock, I will think of the Father, Son and Holy Spirit.

Thursday, December 22, 2011

Glittery and Swirly Ornaments

Who would have thought some floor wax and glitter could be so much fun! That’s right... wash and wax your floor. Good, now dump glitter all over it before it dries! Hurry! Go! Okay, no don’t. Don’t be tempted. It will NEVER come off. Okay, it will. Eventually. But who wants to wait for eventually?


Here is what you are really gonna do. Go to your craft store and buy some clear glass craft ornaments. You should go NOW! They sell out fast. Oh what’s that? You bought yours in September? Huh, go figure... I DID TOO!!! :) :) :) Good thing I did, because Hobby Lobby was sold out. But Michaels had some... so it was all good. 
Okay, dump some floor wax into the bulb and swish it around. Don’t swish too hard because it will get bubbly inside... and you want to try to avoid that. After all of the bulb has been waxed, so to speak, take the cap off the wax and dump the excess wax back into the bottle. I like to balance the bulb onto of
the wax for a while just to make sure it is all out. 


Now quickly dump a good bit of superfine glitter into the ball and shake like crazy. You want to try to do this quickly so that you don’t get a dark clump of glitter on the bottom of you bulb. Pop the cap back on and you have a mess free glittery ornament that is beautiful. :) So much fun! 


Originally seen here
Okay, now that you have some of those clear glass bulbs... you can also make these awesome swirly ornaments. We make these as gifts for our parents in preschool. I squirt in the paint and the kids shake them like mad crazy. 

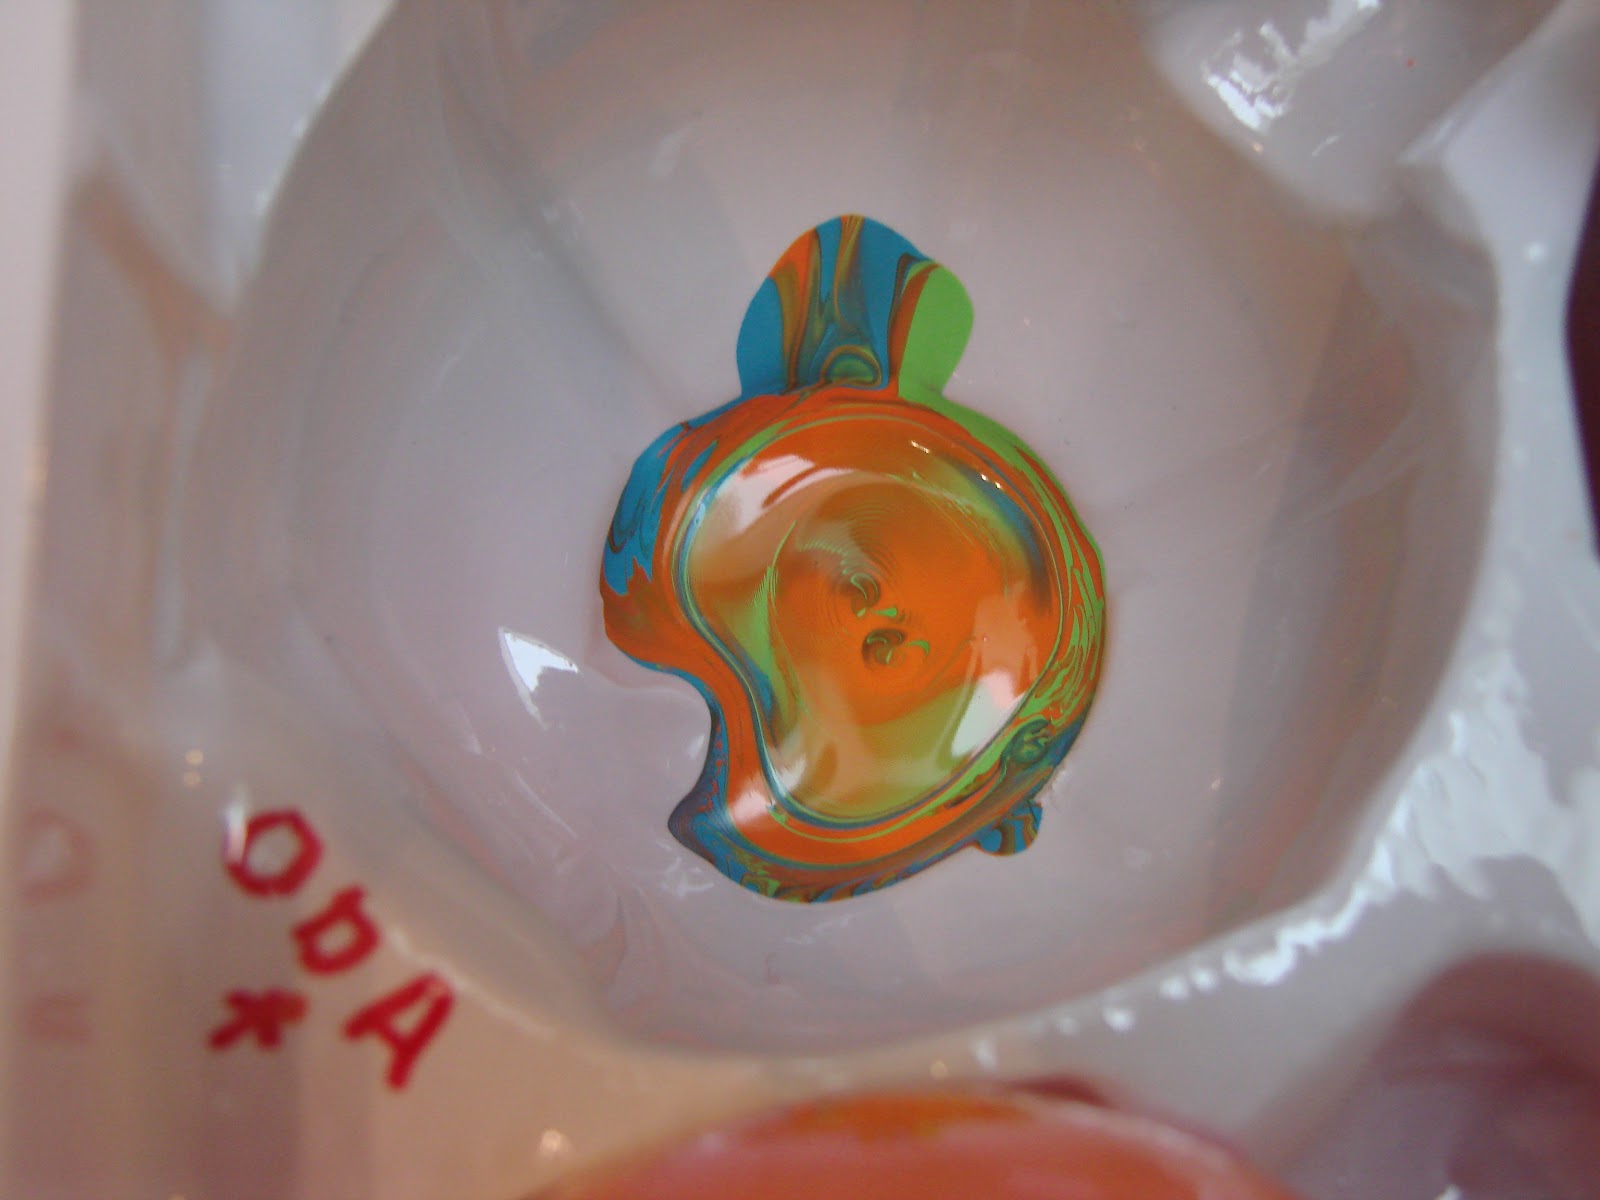
Start by cleaning the inside of your ornament with some rubbing alcohol. When it is completely dry (use a hair dyer to speed up the process)  then squirt 3 small squirts of acrylic paint down the sides of the bulb. Cover the top with your fingers and shake, turn or swirl the ornament. Then tilt it upside down in the ornament tray or egg carton to the excess paint will run out the ornament. You can also turn it periodically through the emptying process so that you will get a pretty design. :) I use puffy writing paint to put student’s initials on the outside. :) Cap it ... and some ribbon and hang it on the tree. :) 


 This is what the paint looks like when it drains out of the bulb. Neat, huh?!?

 These are the cute lil gifts bags that we wrapped up the parent's presents in! 
The tags are from the back of the Little Debbie's boxes that have been saved for years.
They came in handy!


Thursday, July 28, 2011

Paint Chips and Seashells!

Paint Chips = FREE
Seashell cuts outs = .79 for a pack at Michaels.
Through in some scissors and glue... and you have a super simple craft project for the kiddos! But hey, what adult wouldn't want to join the fun! :) :) ):

Thursday, June 30, 2011

It's a Circus Around Here!

 Another great find at Michael's this weekend... Rubber circus stamps for 50 cents each! I grabbed four and picked up some red and white striped paper while I was there. I haphazardly cut the red paper to look like parts of a circus tent. They did NOT exactly turn out how I envisioned. Oh well. The kiddos glued down their tents and then stamped the circus animals in the tent. :) :) :) They turned out super cute! This was easy and inexpensive. It kept the kiddo's attention for nearly a half an hour. 


Monday, June 27, 2011

Cars, Trains, Trucks, and Planes!

Wheels, Watermelon and Whales
For lunch today we had simple sandwiches cut in the shape of a race cars ( used a cookie cutter) with wheels made out of watermelon balls. They also had spiced cookies in the shape of 'wheels'  and some whale crackers and some cheese in the shape of a flower. Everybody cleaned their plates and asked for seconds! :)

Following lunch, it was time to do some crafts. Over the weekend I picked up some cardstock die cuts in the shape of cars, trucks, plaines, etc. I got a pack of like 30 shapes for 79 cents at Michael's yesterday. Love me a deal! So Everyone chose a form of transportation and decorated them with the handy-dandy dot painters. (you can use bingo blotters or DO-A-DOT painters as well). After they were dry, we used construction paper and some electrical tape to make a scene on the picture window. The whole thing was quick and easy! And the window looks beautiful!
 Kids at work!


 VROOM!
 The completed window scene!
 Chug-a-chug-a CHOO-CHOO!
 The highway is all backed up!
 Ry's dump truck is full and he is on his way down the dirt mountain!
 It's a bird! It's a plane! It's Superman!--- NO, wait... it is just a plane! 

It makes me happy!