Saturday, January 14, 2012

Preschool: Music Center

We kicked off January with our story about "David, the Music Maker". We have begun to memorize our verse, Ps 101:1 Sing praises to the Lord. We talked about what 'praises' are: good things, kind and loving words, expressions of love and admiration. We talked about some ways we can praise the Lord through music. We can use our bodies to dance (David danced before the Lord!) Our mouths can sing praises and our hands can play an instrument (or be an instruments) to praise the LORD! Then we practiced those very things!

We also briefly talked about words like, staff, note, treble clef, and bass clef. We talked about how we where notes are located on a staff will tell us what key to play on the piano or what buttons to push on other instruments. We talked about how different looking notes tell us how long to play the note. I kept it very basic. Not too much detail. Just wanting to expose them to the concept. Then I came up with this little center.

We rolled freezer paper onto the back of our TT cabinet.  Mrs. Knight drew a music staff on the freezer paper.  One with a bass clef, one with a treble clef. We put out scissors, clipart music notes ( to be cut apart) and glue sticks. They kids created their own preschool song, and a beautiful art piece. LOVE IT!


Thursday, January 12, 2012

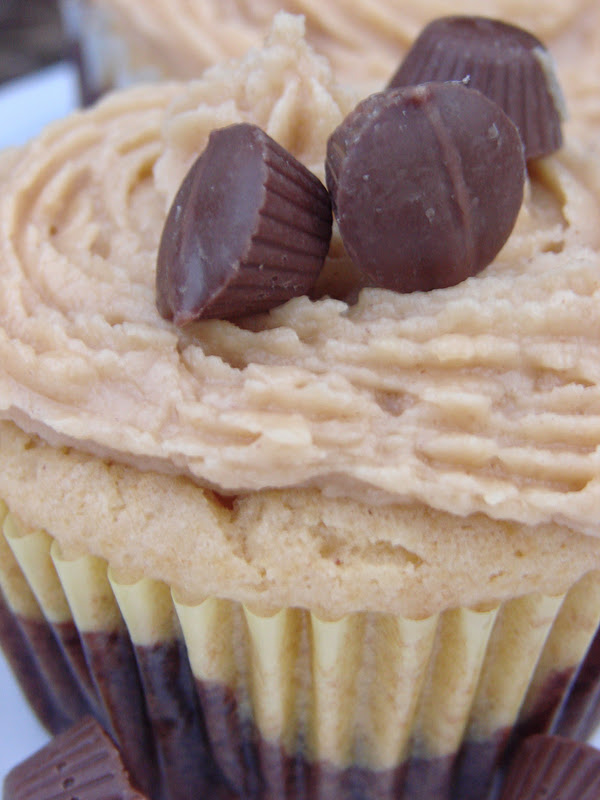
Chocolate Peanut Butter Brownie Cupcakes


There is no name. No name that could describe these little bites of chocolate peanut butter yummy goodness. I don't know what to call them. They are chocolate. There are peanut butter. They are brownies, they are peanut butter cake. They are topped with homemade PB icing. They are just good. You should make these.
 I started off by seeing a chocolate strawberry cupcake with vanilla icing. That was a brownie on the bottom and strawberry cake in the middle and then the vanilla icing on top. I thought I was going to make those. I love strawberry cake. I don't much care for other cake. But that has never stopped me from eating lots of cake. I always try it thinking maybe I will find a dense, moist, decadent chunk of cake with the perfect light icing. Sometimes I do. Sometimes I don't.

Well, I did not have a strawberry cake mix on hand. I only had a yellow cake mix. Well, that's boring. So I started thinking... what can I mix yellow cake with that would taste good with chocolate. PEANUT BUTTER...DUH!!!! Yeah. Match.Made.In.Heaven.


Grab:
1 brownie mix ( the kind that will fill a 9x13 pan)
1 yellow or white cake mix
1 stick of butter, room temp
1/2 cup JIF peanut butter (creamy) 
*side note- I will only ever use JIF. I do not believe that there is any other brand of PB. JIF is the only PB that exists in my world. Thank you very much*
4 eggs
2/3 cup water

Preheat oven to 325. Line cupcake pan with liners. Mix brownie mix according to package directions. (mine called for 2 eggs, 1/4 cup water and 2/3 cup of oil)
Fill cupcake liners 1/3 of the way full.
Pre-bake for 5-7 minutes (before adding PB cake batter to it)
Cream butter and PB together. Add eggs one at a time. Alternate cake mix with water. Mix until incorporated. Don't over mix. Put about 2 TBSP of PB cake mix on top of the brownie mix. Bake at 325. I had my oven on convection bake. And mine were done in 16-18 mins. If you don't have convection, start watching at 16 minutes. May take 20-24 minutes. Just watch. When the cake springs back after being touched, it is done. 

NOW FOR THE ICING! 
Grab:
1 stick of room temp butter
1 and 1/4 cup PB (creamy.. JIF)
about 4 cups of 10x sugar
1/3 cup or so of milk or heavy cream

Go: 
Cream PB and butter together. Start adding 10x sugar 1/3 cup at a time. The icing will start to clump into balls. After sugar is added, start to add to the cream a little at a time until it reaches the desired consistency. Spread or pipe onto cooled cupcakes. 

Decorate with chopped up PB cups. :)


Wednesday, January 11, 2012

{SnOw MuCh FuN! }

LOVE LOVE LOVE LOVE this! A shout out to my parent volunteers who tediously cut out all the little kiddos! :)


I had kiddos come to class dressed in their winter gear. I snapped a quick posed photo of them pretending to do something snow related. Parents helped me by cutting the pictures out. A few pom poms and glitter help make this bulletin board SNOW MUCH FUN!  (So cheesey, I know... but I love it!)
Sledding! 

****So much Glitter!****


Snowball Fight!!!

Simple tag stickers make an ice fort!


Monday, January 9, 2012

Seafood Stuffed Shells, Must TRY!!!!


My Aunt Melissa used to make these Seafood Stuffed Shells when I was younger. It has been YEARS since I had had them. She was wondering what to bring to the family New Year's Eve party and I was like "SUFFED SHELLS!!!!!"
One bite and I needed more. I ate 3 at the party. I held back. I wanted the whole plate. I settled for the recipe. It is easy. Easy peasy. Easy peasey lemon squeezey.  Nevermind the lemon. You don't need any :)

Grab:
3 (8 ounce) packages of imitation crab meat (chopped into large pieces)
1.5 to 2 cups of Mayo ( I use Kraft)
2 to 3 TBSP finely chopped onion
1 to 1.5 ribs of celery finely chopped
1.5 to 2 cups of freshly grated swiss cheese. 
1 box of jumbo shells

Go:
Cook pasta according to package directions. Do not over cook. Drain.
Meanwhile mix all other ingredients together in a large bowl. When shells are cool enough to handle fill with meat mixture. Eat lots! Easy peasey!
( I chilled mine for about a half hour)

The pictures just DO NOT do this justice!


Thursday, January 5, 2012

D is for Dirt in my Dump Truck

Notice the date? 1-3-11. Yeah, we haven't quite got a hang on the 2012 thing yet. ;)

I came up with this idea last year and it is one of my favorite craft projects of the year.  I got my dump truck picture from Crayola's website. Click the link <<<<< and it will take you right to the printable!

 I popped a movie in the selected a movie from ON DEMAND! (yay for instant movies!) And cut out 27 dump trucks! It was actually really relaxing. We preglued the trucks on half sheets of colored construction paper. We had a busy day, and having the trucks pre-glued saved us precious class time.

During Circle Time, I allowed the kids to guess what the "dirt" that we were going glue onto our dump trucks actually was. I store it in a clear baby food jar, but I took the lid off and had them smell what was inside. Can you guess what it is? COFFEE! yay for coffee! We had a short lesson on how the coffee was a bean, got ground up, which is why it resembles dirt! Then we could put in our coffee maker, run hot water over it and it turns the water into coffee!  ( Take advantage of those 1 minute lessons. I promise some of those students will remember!)  The kiddos colored their dump trucks first. Then they covered the back of the dump truck with glue, sprinkled coffee grounds over it and we helped them shake off the excess! A craft becomes a sensory experience!

Wanna know the best part??? I have a Keurig. I love it. I LOVE LOVE LOVE it. It was a wedding shower/wedding gift from my aunt and uncle. Best. Gift. Ever.  But if I have a Keurig, then I don't have coffee grounds. I have k-cups instead. Well, if you have not noticed, coffee is freaking expensive lately! ARGH!!!  So I am not going out to buy a can of coffee that will last me a billion years of craft projects. BUT, I have all these little complimentary hotel room coffees that my MIL takes every time we stay somewhere. But we don't use them, because we have a Keurig. So, FREE hotel room coffee=Free craft supply! YAY for free hotel room coffee!!!! Do it. Take the coffee. They want you too. ;)


Sunday, January 1, 2012

TP Roll Snowman

I have had a problem. I collected way, way, way, way too much junk for preschool. I kept every container, jar, tp tube, pt tube, egg carton, oatmeal container... and the list goes on. BUT this year, I have gotten rid of TONS of it. I used what I could, kept some of what I know I will use this year. And I tossed the rest. Tossing feels good. I know you don't think it will, but it does. Just throw it away. I am in the process of writing a series of posts completely dedicated to organizing and knowing what to keep and get rid of...etc. So keep looking! But for now... I am sticking to showing you how to put to good use the tp or pt rolls that you have collected. :)


1. Paint tube white ( use acrylic paint, tempra just soaks in)
2. Use black beans to create a face and orange felt to create a face.
3. Use colored felt to make a hat and scarf. ( For the hat, just glue a thick strip at the top, snip fringe, and     tie it together with some string or ribbon. Glue the scarf on the bottom)
4. Glue on buttons.
I suggest using tacky glue :)

Friday, December 30, 2011

Hot Cocoa Shop

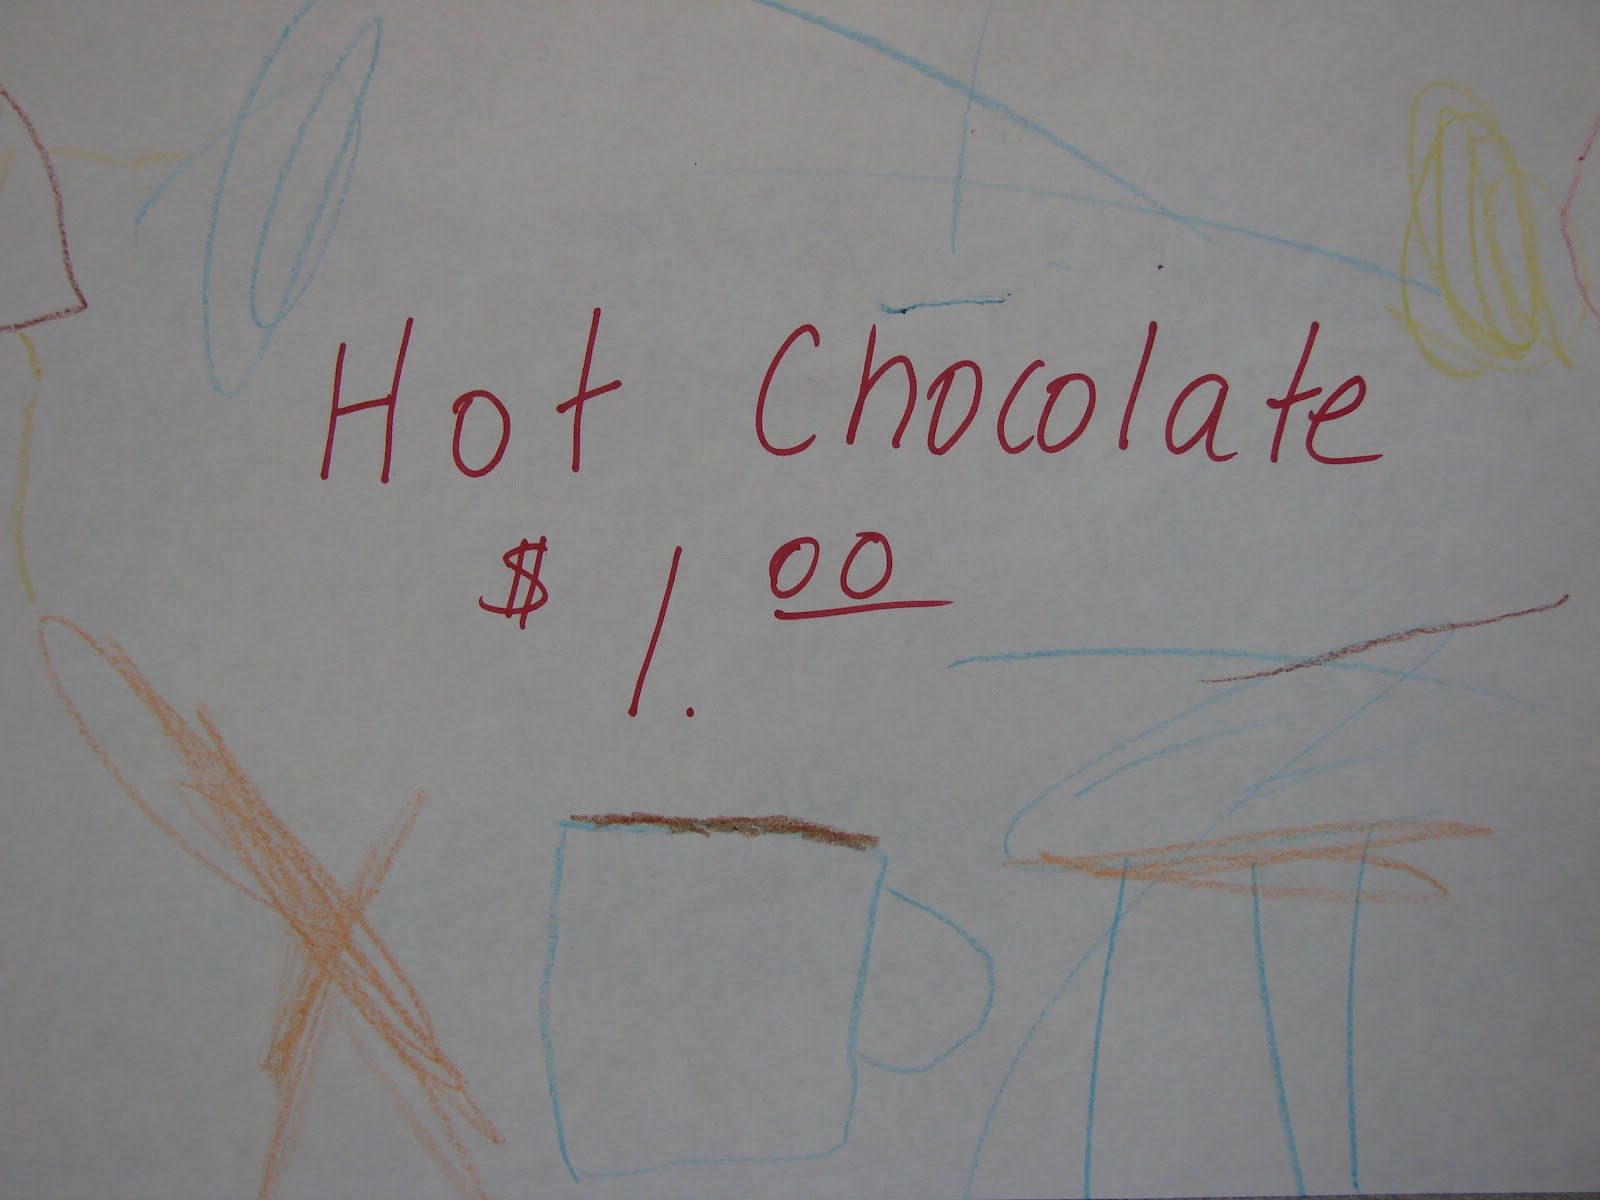
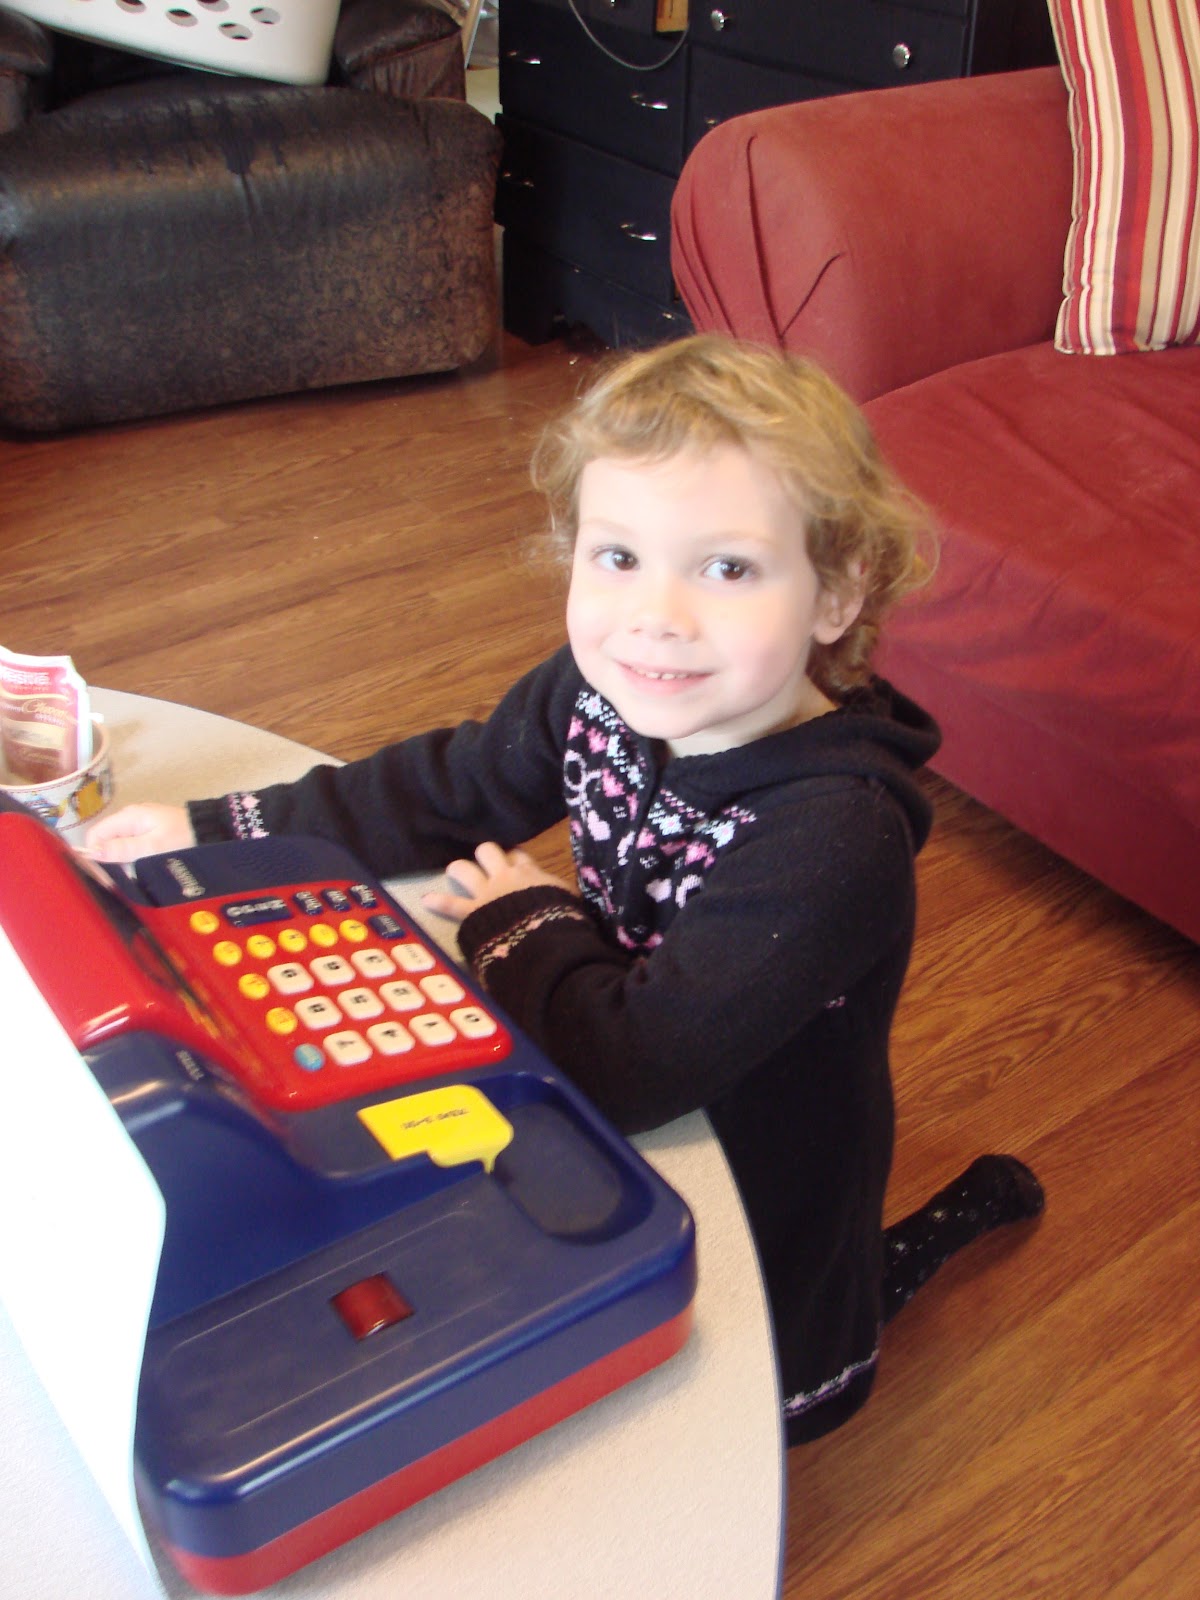
C is for Cocoa! During snack time at preschool, I set up a hot cocoa shop. Each kiddo was given $1.00 in play money. We had a cashier, register, and real hot cocoa. (well hot chocolate packets). We talked about how you buy things you want and need. Then, if the kids wanted to... they could purchase hot cocoa. Each kids was given a foam cup, packet of hot chocolate and a spoon. I came around with the hot water and added it to their cup after they emptied their packet into the cup. We even had extra mini marshmallows that I bought at a local bulk food store. The kids had a blast! :) So much fun! I came home and set it up for the daycare kids as well. :) Learning should be fun! :) :) :) And this was!
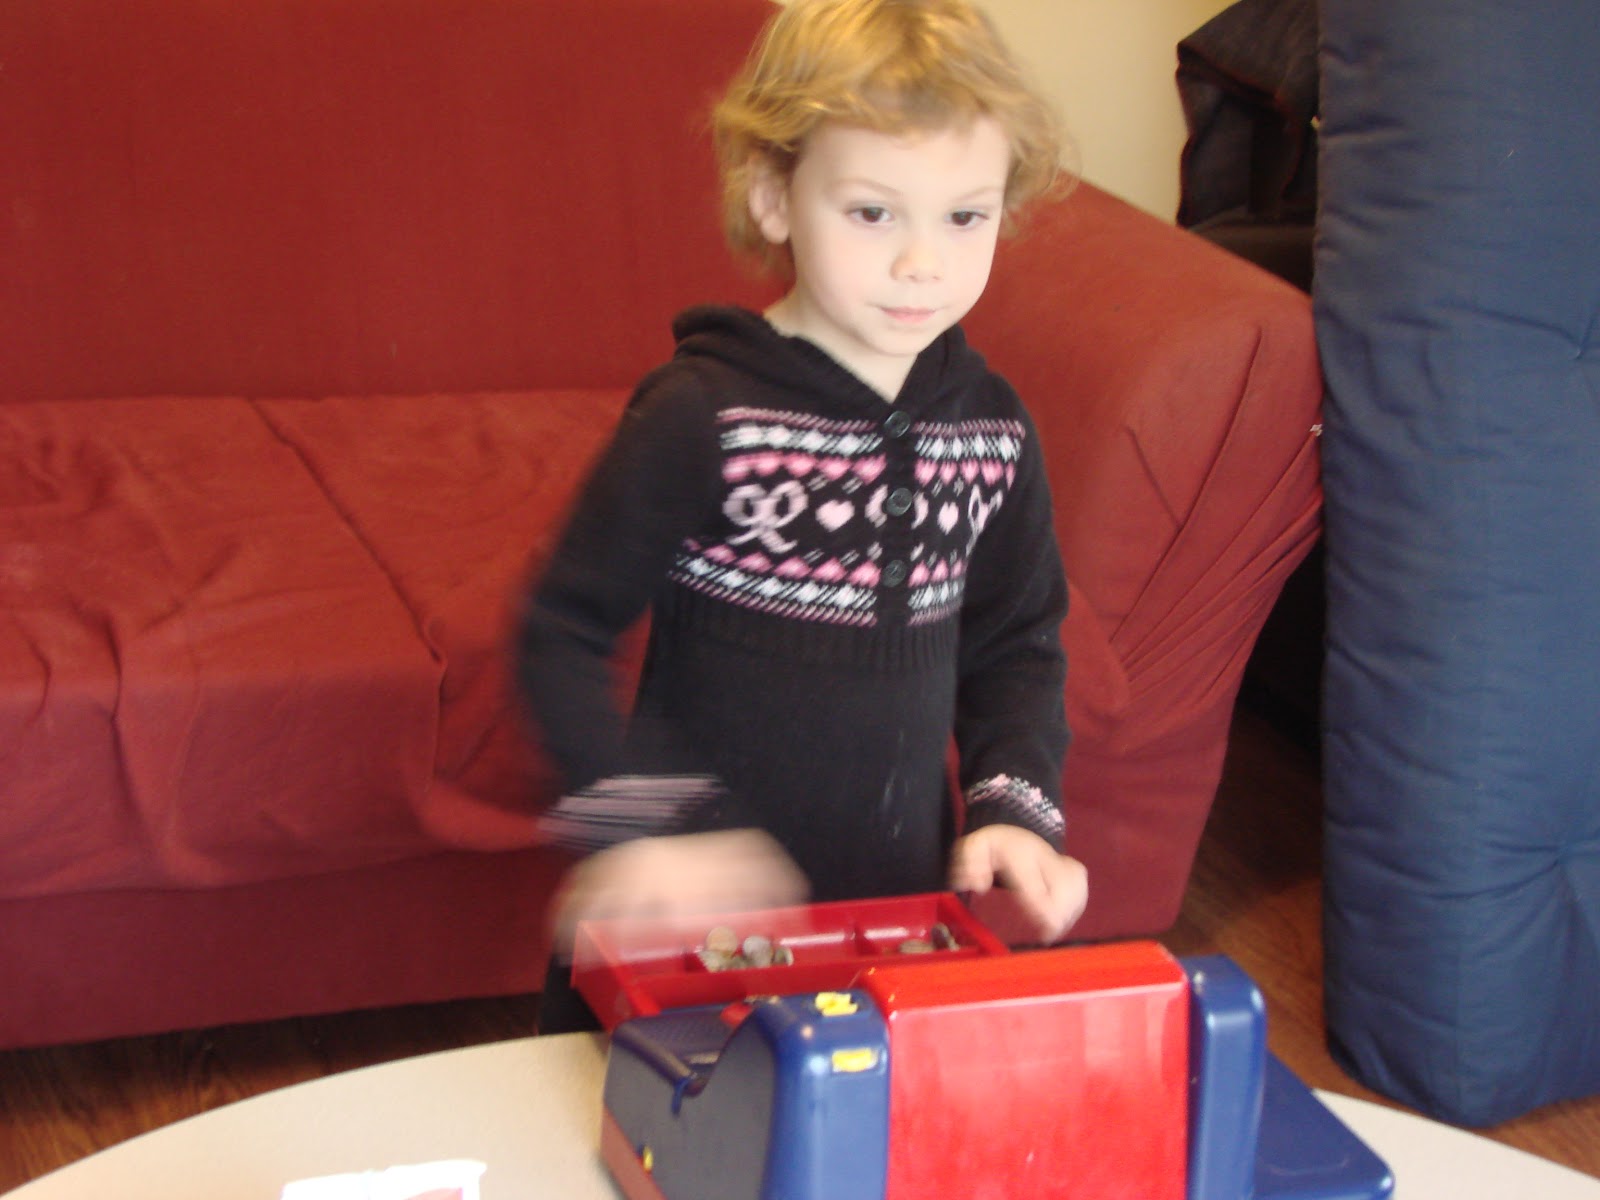
Here are a few pictures from the shop at daycare, I forgot to take my camera to school!

 We used real mugs at home.


Nice art work, Cort!
 Cashier, Autumn


 Fine Motor Marshmallows!


 Don't be afraid of a mess. It took 3 seconds to clean up. So worth it!