Friday, December 9, 2011

Monster Cookies


I was telling my BFF, Kristy that I was making some Monster Cookies for her church Christmas party this weekend. She said, "Umm... you know it's not October, right?"
I was surprised she never heard of Monster Cookies.
I grew up with a version of them my Aunt TC made.

I promise you it is the only batch of Christmas cookies that you will need to make this year. This recipe makes at least 16 dozen. Easy... probably a ton more... wait let me count...
Ok, I'm back... so far I have about 1/3 of the dough baked and I have tons of dozens of  cookies. It is easily over 100 And I am expecting at least another 150!!! Crazy right???

These are so soft and chewy. So dense and yummy. The great thing is you can make the basic batter and add whatever "extras" you want... Read on, you will see what I mean.

Grab:
 (Ok, wait... take a deep breath. Don't freak out. I know this is gonna sound crazy, but just go with it.. k?)

12 eggs beaten
2 lbs Brown Sugar
4 c white sugar
1 Tbsp vanilla
1 Tbsp Karo
8 teaspoons Baking soda
1 lb Butter
3 lb peanut butter ( 4 cups plus)
18 c oatmeal ( lg container)
1 lb Chocolate chips
1 lb mini M&M's
( I always add PB chip and white chocolate chips too!)

Go:
In large bowl mix ingredients in order. Beat after each. Drop onto cookie sheet. bake at 350 degrees for 12-15 minutes Take out while soft. DO NOT OVER BAKE. Let cool a few minutes on the sheet, then transfer to a cooling rack. I usually bake mine for 11-12 minutes. I like them super soft. Don't worry, the centers will firm up as they cool completely, but they will not be dry at all! :) :) :) 


 I measure my baking soda by dumping each teaspoon separately around the bowl so I don't lose count.
 Four stick of butter. Oh My Word... I feel like Paula Deen!
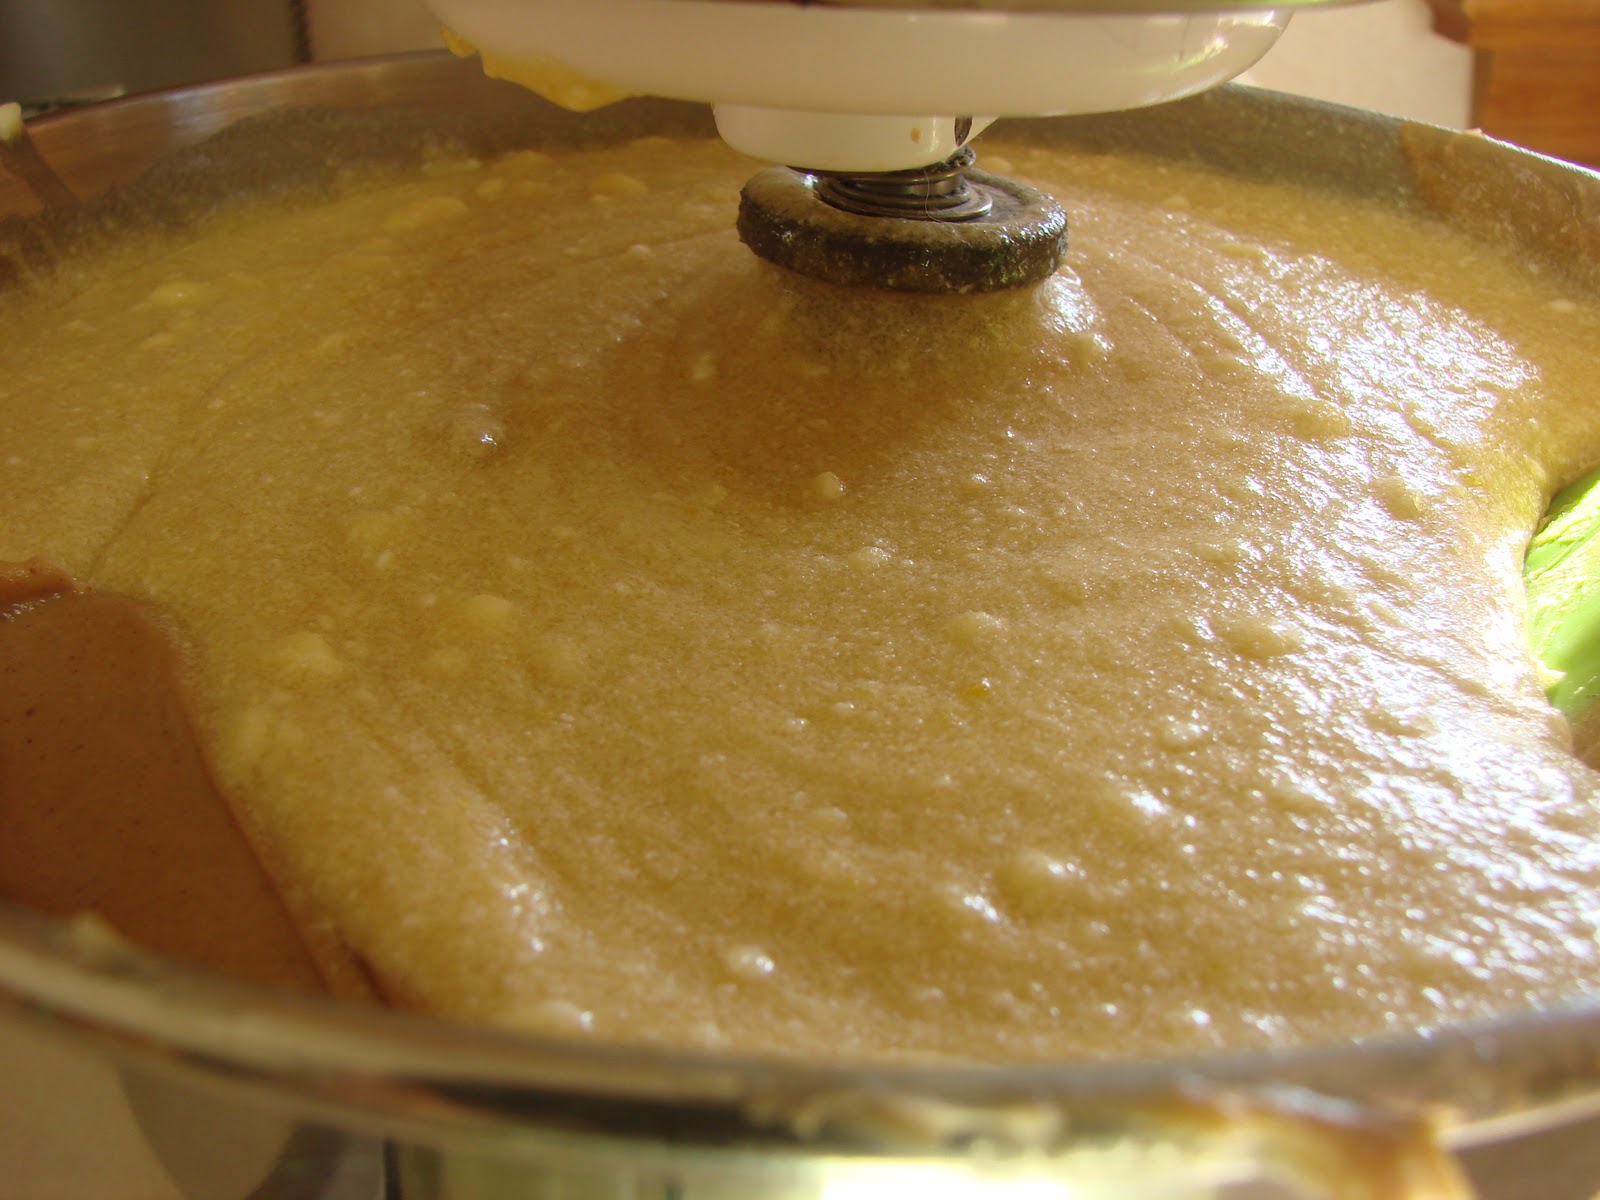
 Go ahead, taste the batter... I won't tell ;)

 Yummy batter
 Up close
 Up closer
 I bake mine on Parchment... you should too.
 oh, yeah.
There is a reason I am baking in my sweatpants today... My jeans probably wouldn't fit by the end of the night :)


Now, here is what I do. I mix as many of the ingredients in the mixer as will fit. Today I got up to the PB, then had to dump half the batter into a huge bowl. I added half the PB to the bowl and half to the remaining batter in the mixer. I mixed the rest by hand, then added the oatmeal to the big bowl, and mixed both batches of dough together. Add in you "extras" last. 
I used mini dark chocolate chips
M&M minis
1/2 bag of Reese's PB chips

In the past I have also added butterscotch chips, raspberry chips, caramel chips, white choco chips, nuts... anything your lil heart desires! 

You can also split the batch after mixing in the oatmeal and make several different kinds of cookies. I have also done this before as well. 
I have never frozen the dough, but I have frozen the baked cookies, and they freeze wonderfully! 

I hope you and yours enjoy my family's favorite cookie! 

Preschool: Writing Center


It is "Letter of the Week" time for the 3 year olds! :) In the 3 year old class, we are focusing on letter recognition and sound association. But I also like to expose them to writing the letter. Adding in a hands on activity often helps the kiddos remember the letter. :) Here is my writing center at preschool. It is a simple and inexpensive creation that can be used for multiple activities.

I went to my local Lowe's and picked a thin piece of Plexi-glass. I had them cut in half. ( It's free!) back at school, I place our Handwriting Without Tears workbook that the older class uses, underneath the plexi-glass. The kiddos use dry erase markers to complete the workbook page. Then they can simply erase it and try again, or give a fellow student a turn. It saves money and waste. The kids love it! I love it! You can also recycle dot-to-dots, look and find pages, math pages, mazes, etc underneath for another fun center activity! :) Give it a try!

I had to add this picture... of when she noticed I was photographing her! :) 

Wednesday, December 7, 2011

Mini Pumpkin Pies at Preschool


Pumpkin Pie? Ummm.... do you even have to ask? YES, PLEASE!!!! 
It does not get any better than that. 
Oh wait, yes it does. 
Make them mini... of course! 

This makes 18 mini pies 


I basically followed the Libby's pumpkin pie recipe on the back of the can... or found here, minus the pie shell. 
When I say "basically" followed the recipe... it is because we made these in preschool. 
So I helped measure... and the kids were pretty close. :) The only big change I made, was adding a few shakes of pumpkin pie spice in addition to the other spices. 
Try it! It was really yummy! 

I allow the kids to measure, open cans, dump, mix, pour, shake and sprinkle. Their favorite part was cracking the eggs! Don't be scared. Let 'em do it. ;) I just have them crack them into separate cups, so digging out the shell is rather easy. :) And surprisingly, there was hardly any shell to remove!


Fill the pie shells and bake... I preheated my oven to 400 degrees. But turned it down to 375 when  I put the pies in. I started checking them after 20 minutes... but it took more like 26-27 minutes. The way you can tell is by gently touching the center of the pie, if your finger does not leave a mark, then they are ready. But if you get some pumpkin stuck to your finger, they can go a little longer. I would say no more than 30 minutes though. And the graham cracker crust makes all the difference in the world! 

So get the kids in the kitchen. Let them make a mess and enjoy this yummy treat! 


Sunday, November 27, 2011

A is for Antlers

Super simple, super fun and one of my favorite holiday crafts! This is a great letter A craft! A is for antlers! I used a reproducible from The Mailbox and cut the antlers off. You can just google Reindeer coloring pages and then cut the antlers off. Glue it onto red or green paper. Paint hands white and press on the top of the reindeer's head! Now you have antlers! :) Find a sparkly pom-pom and glue it where the nose should go! Fun! :)


Tuesday, November 22, 2011

Thanksgiving Sandwich


Did you really need a 22 pound turkey to feed 6 people? Umm... I think not.  Did that stop you? Yeah, didn’t think so. So now what??? Huh? Well, don’t sweat it. I got your back.  I have a few leftover recipes to share with you. :) But just one today, okay? 
This is a sandwich inspired by at Turkey Day sandwich that I saw advertised at Earl of Sandwich in Downtown Disney. It is my family’s new favorite. :) I hope you enjoy it too! 
Now, I make this without leftovers just anytime I feel like it. And to do that I use turkey breast cutlets and fry them in some EVOO with some poultry seasoning.  But you can also use turkey lunchmeat or left over roasted turkey. :) Ahhh.... so many options! 
I also use a cranberry sauce/salad that I get from a little country store near my house. But you feel free to use your own homemade cranberry salad, canned sauce, whatever you like. :)  But go here is a recipe for some yummy sauce I made for last year that is similiar.
Grab:
Turkey of some sort ( leftovers, lunchmeat or cutlets)
Cranberry salad, sauce or jelly
Stuffing (You can use good old boxed mix or leftovers)
Mayo(just enough to moisten the bread. You can also use ricotta cheese)
Butter
Rolls ( I use a crusty italian roll)
Gravy (optional)
Go:
Preheat oven to 375 and butter your bread.
Sprinkle a little poultry seasoning on bread. (You can also use thyme, rosemary, and/or sage)
Toast the buns in the oven until just lightly golden brown.
Remove the buns and spread just a little mayo on one side (if you like).
Spread cranberry salad/sauce on the other side.
Add your turkey (warm it up before you put on the bread).
Add some stuffing. (do this!!!)
And then feel free to drizzle with gravy. If you are making this without leftovers, buy a jar of gravy and warm some. This is my hubby’s favorite part.

I know it sounds weird... but I promise you will use up those leftovers and be looking for reasons to roast a turkey every month! :) 

Tip:  freeze some extra turkey in sandwich bags and pull it out when you are ready to make these yummy sandwiches. 

Tuesday, November 15, 2011

Buffalo Chicken Pizza


Okay, so I baked 3 leftover chicken breast the other night. (I opened a whole pack, but didn't need all the chicken, so I threw what wasn't needed right away in the oven at 350 for like 35-40 minutes until no longer pink inside.) But did not know what to do with them. Hmmm.. 3 chicken breasts don't go too far with 3 men in this house. So the next night I chopped them up and made 2 pizzas. Super simple... took no time at all.

Grab:
Some cooked chicken
Buffalo sauce or BBQ sauce 
Mozzarella cheese
Ranch Dressing (optional)
Refrigerated pizza dough


Go:
1. Chop up the chicken quickly or throw it in the food processor.
2. Roll out your pizza dough. ( I pre-bake my crust for about 5 minutes before adding the toppings)
3. Mix chicken with some sauce (buffalo or bbq)
4. Top pizza with cheese, chicken and some sauce. 
5. After you bake it according to the package directions, you can add some ranch dressing to balance out the spicy buffalo sauce. 

Super Easy Supper!!!

The Impossible Sugar Cookies (Scarecrow Cookies)

I cannot make sugar cookies to save my life. Correction: I can make a blobby looking mess... but a pretty perfect cutout cookie??? NO! I have tried several different times, several different recipes following them exactly. No luck though. My brother in law says when I follow a recipe, it never turns out right. Winging it usually gives me the best results! 
Diaster 1-
I had this plan to make multi-colored sugar cookies that were supposed to look like oak leaves. Well, they turned out looking like a deformed part of the male anatomy that would not have been appropriate to send as a "thank you" to the nice firefighters who taught fire safety at preschool. :/ Epic FAIL. The firemen got round cookies instead. 

Disaster 2-
I was gonna make these adorable scarecrow cookies, but the dough was impossible. Too sticky even after refrigerating overnight. I ended up rolling the dough into balls, rolling in flour then smooshing with the back of a measuring cup. They turned into perfect circles then, but... COME ON!!! This has got to be easier!!!! Any hep out there blog world???? What are your tips for making perfect sugar cookies????

The cookie recipe I used can be found here.... along with the icing and scarecrow idea. Believe me, the cookies were yummy! The problem lies with me!!! I have got to be doing something wrong! HELP!!! 

So, make the cookies and decorate... I used the sugar wafers ( i found taking them apart longways worked better), pull and peel licorice, mini choco chips, a peanut butter chip... you can use whatever you like! I am planning on making these again and making them into snowmen! :) Look for that post coming soon!