Who would have thought some floor wax and glitter could be so much fun! That’s right... wash and wax your floor. Good, now dump glitter all over it before it dries! Hurry! Go! Okay, no don’t. Don’t be tempted. It will NEVER come off. Okay, it will. Eventually. But who wants to wait for eventually?


Here is what you are really gonna do. Go to your craft store and buy some clear glass craft ornaments. You should go NOW! They sell out fast. Oh what’s that? You bought yours in September? Huh, go figure... I DID TOO!!! :) :) :) Good thing I did, because Hobby Lobby was sold out. But Michaels had some... so it was all good.

Okay, dump some floor wax into the bulb and swish it around. Don’t swish too hard because it will get bubbly inside... and you want to try to avoid that. After all of the bulb has been waxed, so to speak, take the cap off the wax and dump the excess wax back into the bottle. I like to balance the bulb onto of
the wax for a while just to make sure it is all out.


Now quickly dump a good bit of superfine glitter into the ball and shake like crazy. You want to try to do this quickly so that you don’t get a dark clump of glitter on the bottom of you bulb. Pop the cap back on and you have a mess free glittery ornament that is beautiful. :) So much fun!


Originally seen here
Okay, now that you have some of those clear glass bulbs... you can also make these awesome swirly ornaments. We make these as gifts for our parents in preschool. I squirt in the paint and the kids shake them like mad crazy.


Start by cleaning the inside of your ornament with some rubbing alcohol. When it is completely dry (use a hair dyer to speed up the process) then squirt 3 small squirts of acrylic paint down the sides of the bulb. Cover the top with your fingers and shake, turn or swirl the ornament. Then tilt it upside down in the ornament tray or egg carton to the excess paint will run out the ornament. You can also turn it periodically through the emptying process so that you will get a pretty design. :) I use puffy writing paint to put student’s initials on the outside. :) Cap it ... and some ribbon and hang it on the tree. :)


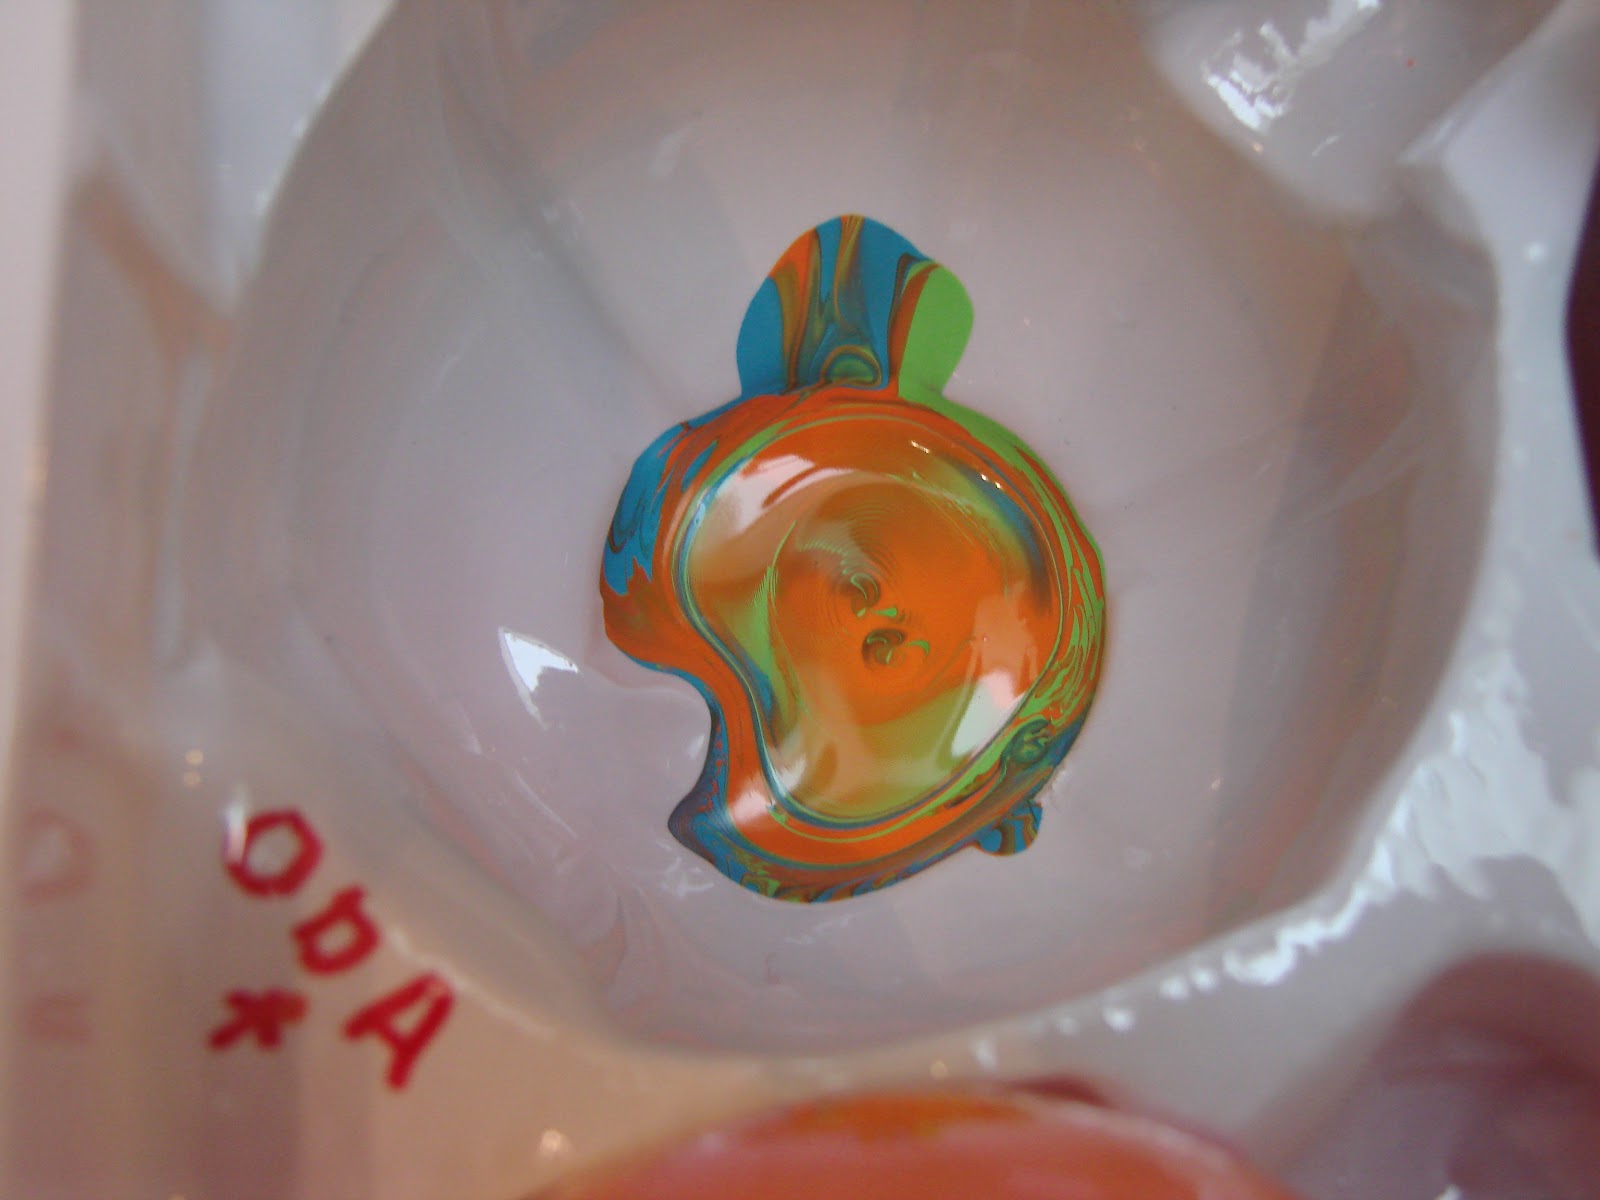
This is what the paint looks like when it drains out of the bulb. Neat, huh?!?


These are the cute lil gifts bags that we wrapped up the parent's presents in!
The tags are from the back of the Little Debbie's boxes that have been saved for years.
They came in handy!
I can handle that kind of glitter, CONTAINED!
ReplyDeleteThat is the best part. No mess!!!
ReplyDeleteAnd I love mine on my tree now:)
ReplyDeleteLOVE these!!!!
ReplyDeleteLove these ideas!
ReplyDeleteSarah....thanks for the idea! I loved it last year when Andrew did it in school and I just bought the supplies to make some for his mini tree this year! It was such a neat idea that it stuck with me until this year!
ReplyDeleteGreat reading yourr blog post
ReplyDelete