Another way to get them to eat, is to let them get involved in the kitchen! I spend the entire month of March cooking with the kiddos at preschool. They LOVE it! Today the daycare kiddos made Tye Dye Cake! Yummy! And super simple!
Start with a white cake mix ( I had coconut cake mix on hand, so I used it.)
I wanted a really white background to my colors, so I only used EGG WHITES. My recipe called for 3 large eggs, which I converted to 5 egg whites. ( Normally you would use 2 egg whites per 1 egg called for, but my eggs were large) It worked perfectly. I followed the rest of the ingredients per box directions.

Then I separated the mixture into 4 bowls. (Actually, I left 1/4 of the mix in the mixing bowl and used it as the white batter. The remaining batter was in 3 small bowls. I used GEL food coloring. DO THIS!!! BUY EVERY COLOR OF THE RAINBOW IN GEL FOOD COLOR! You can find it in the cake decorating section of craft stores. You will not regret it. The colors are so much more vibrant and it will not water down your recipes. Anyway, I left the kiddos mix the food coloring into the separate bowls. We used green, pink and teal.


Spray or grease a 9x13 cake pan (you can really use any size that suits you!) Dump some white batter directly in the center of the pan, about 1/4-1/2 cup. Next layer up the colors in whatever order your little heart desires right on top of each other. 1/4-1/2 cup at a time. Here is an example after the white and teal. By the way, I let the kiddos spoon the colors on, which of course they thought was grand!

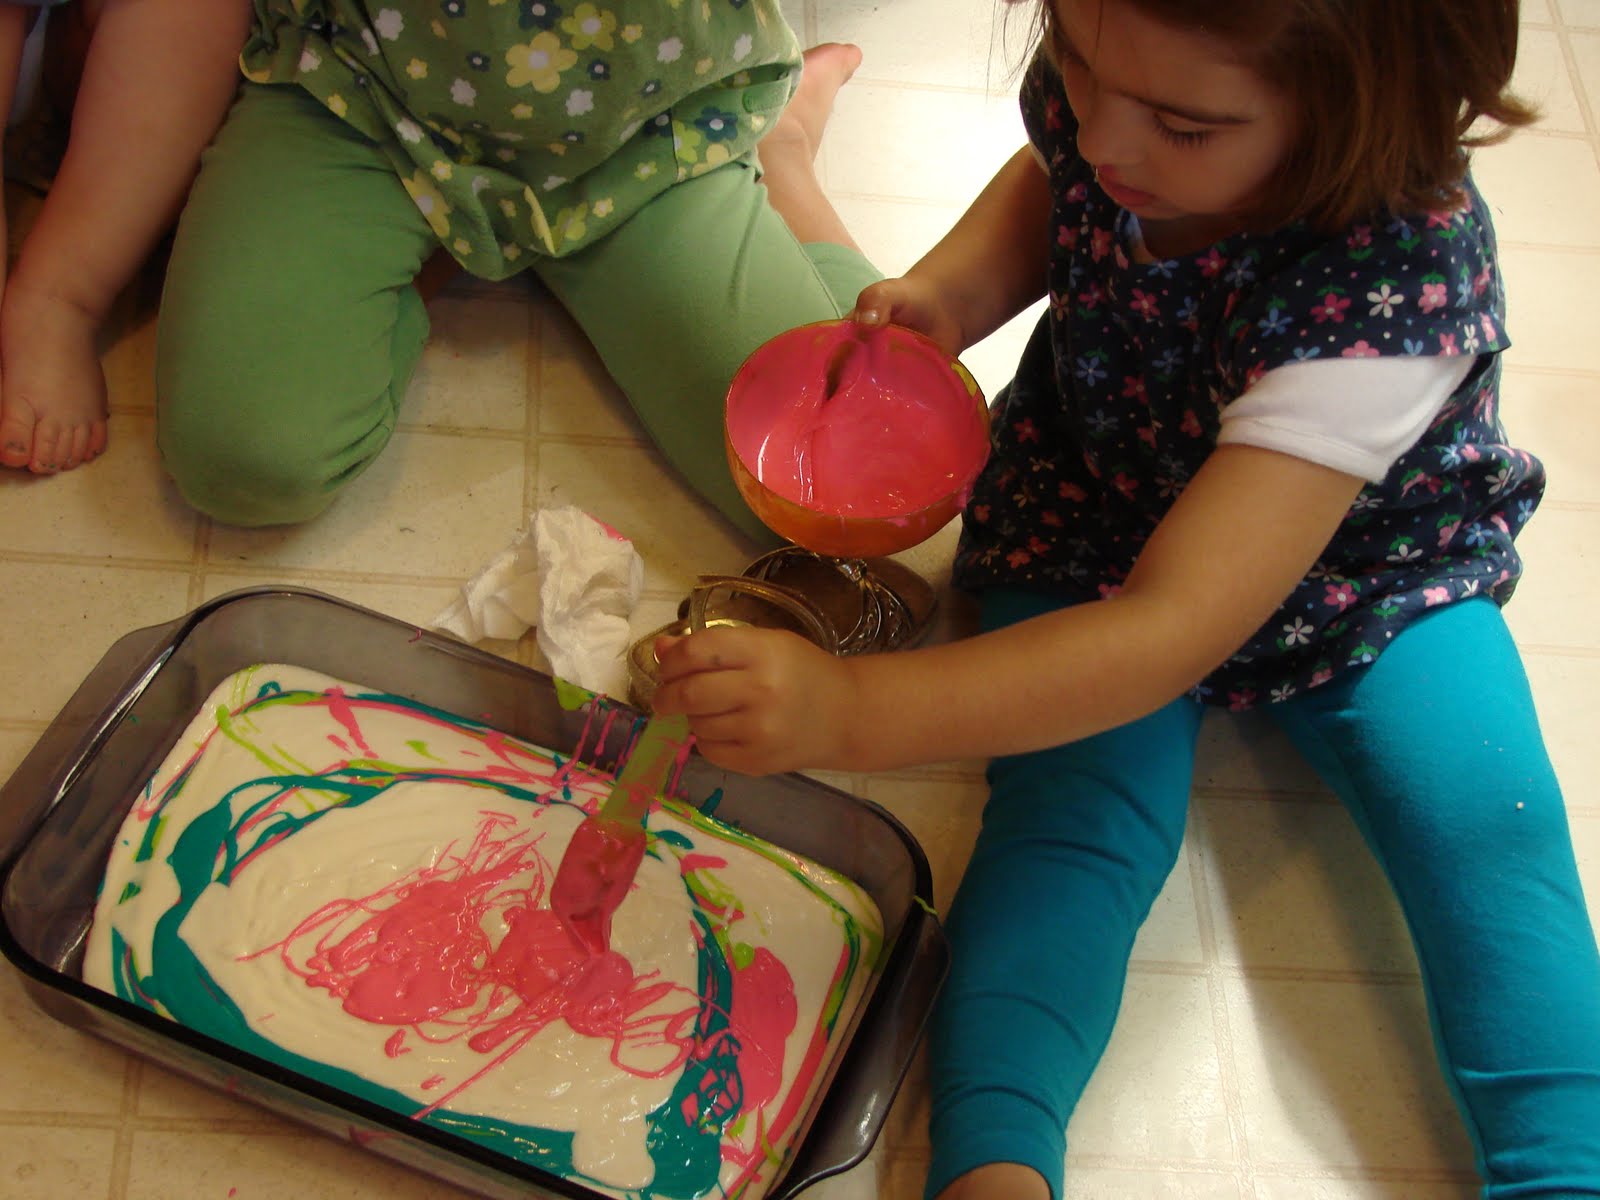
Now keep going... go ahead, it will spread on its own. No need to mix, swirl or spread. It will do it by itself!

This is after our first go of colors. Beautiful, huh? I love it. Makes everything in the world seem right.
Keep going, layer them up... don't worry if the kiddos get a little creative. It just makes it all the more interesting!


Gorgeous! And so much fun! Just think of all the memories you are making with the kiddos. What? No kiddos... it is okay. Make this yourself! It will bring that happy kid right outta you!
Bake according to the box. Let cool completely before cover it with icing. :)
Here is our baked caked... just wait, don't dig into it yet!


No words can express how happy this colorful cake makes me! It is just a joy to look at. Feeling blue? Bake a tye-dye cake!!!! BUT, we are not done yet! We need icing! Boring white icing? NO! Swirly colorful icing? YES! First icing the cake as usual with white icing. Then put small drops of gel food coloring all over the cake and GENTLY swirl it around.


Doesn't have to be perfect, just go with it! :) :) :) :) It will make you happy!
Now this is the most important part, Cut and EAT THE CAKE!!!


Wow, this is so simple yet creative! Thanks for the inspiration! This looks like it's fun to make AND eat! :)
ReplyDelete@Play-Based Classroom, It was fun!!!! And Yummy! :) :) :) Have fun making it!
ReplyDeleteHow fun!!!! Thanks for sharing. :)
ReplyDeleteThank you Sarah for this super fun and easy cake recipe! My 6 year old son and I had a grand time making this cake last weekend for Grandma's Birthday party. I tripled the recipe and baked it in a 18 x 13 greased cookie sheet pan. Used 2 boxed white cake mixes ( for cake colors white, blue, green, & purple) & 1 strawberry cake mix (for pink & red). Everyone thought the tie dye cake looked really cool and said it was tasty too. Definitely a crowd pleaser! This recipe is a keeper!
ReplyDeleteAww, thanks! I am super glad you tried it and you liked it! It makes me so happy! :) :) :)
Delete